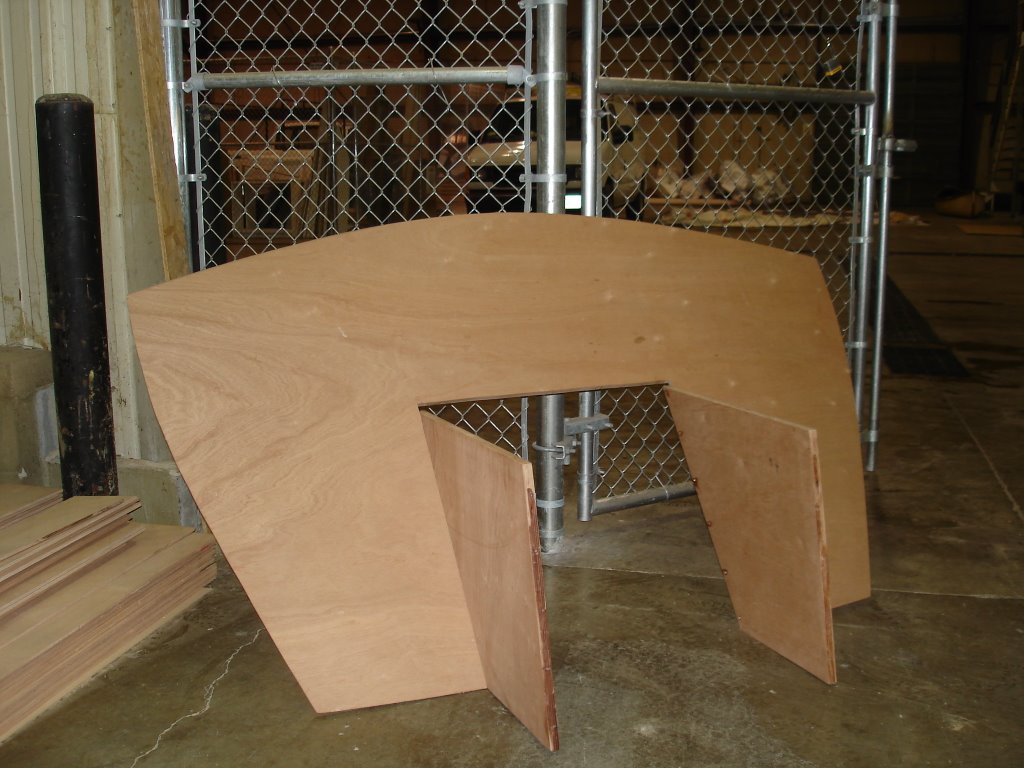
I cut my transom out of 3/4" BS1088 sapele- this is some nice stuff. Accidentally cut the top bevel too steep, but it will work out fine. Also shown are the sides of the motorwell. I haven;t cut out the arc yet. I widened the well a little on either side, as per recommendation by a number of Simmons builders.

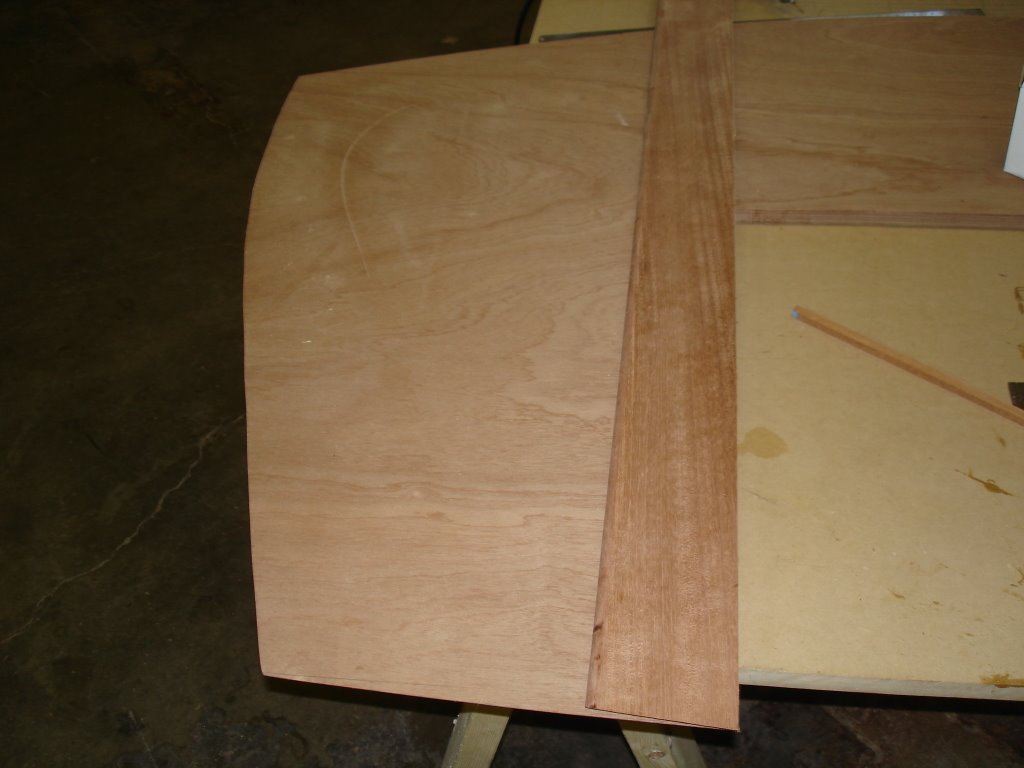
With one layer of the motorboard attatched- it is built of two 3/4" layers and one 3/8" layer.
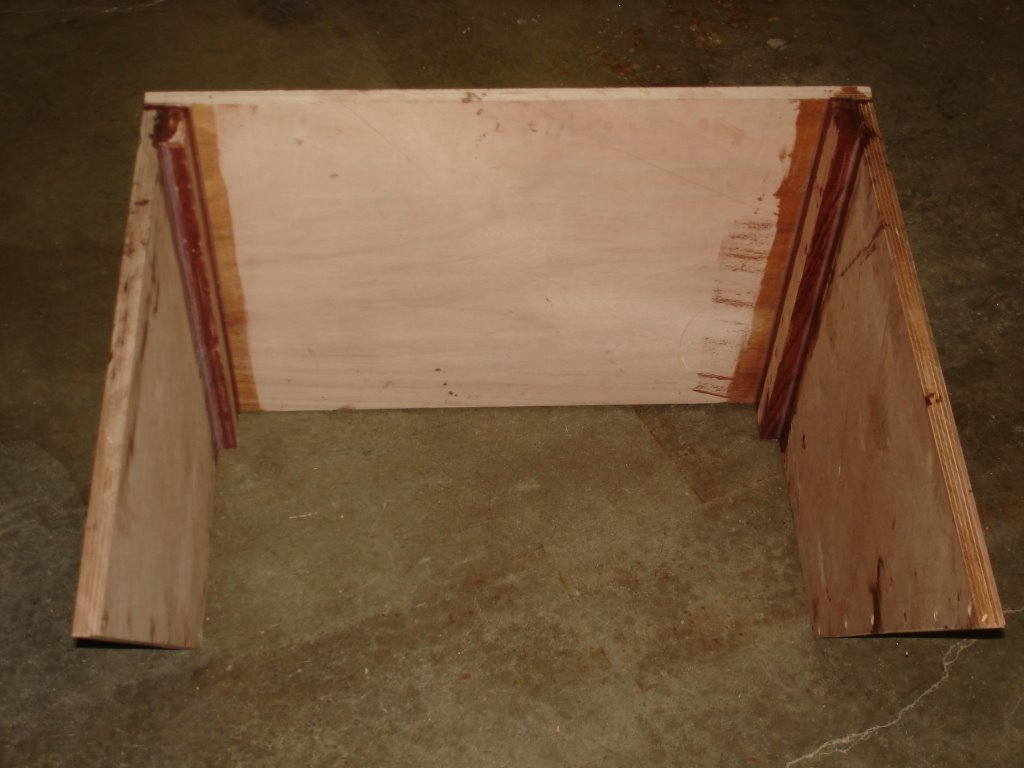
Here is the motorwell glued up. I used 2" by 3/4" braces in the corners, after doing that, I would have rather used a triangular piece to give the inside of the well a nicer look. I might epoxy a piece on there to accomplish that. I've been using a ProPrep scraper to smooth out cured epoxy fillets- it works great. Much easier than sanding, and it gives a very smooth finish. No breathing epoxy dust either.
The well/transom is fastened using silicon bronze screws and thickened epoxy.
Here is one of the braces on the inside of the transom. The lumber I'm using is spanish cedar. Once I get the other three made, I will epoxy and nail these to the transom, and then fasten the motorwell.
No comments:
Post a Comment